How to Clean a Dryer Vent the Right Way
This simple task of cleaning your dryer vent will help your clothes dry faster—and could even prevent a fire.

Why do I need to clean my dryer vent?
It is common knowledge that fire safety in the kitchen is important, but what about the laundry room? Ensuring a clean dryer is essential to avoid potential house fires that may originate from an unexpected source. One effective method is to understand how to properly clean a dryer vent. Research from the U.S. Fire Administration reveals that neglecting to clean a dryer was a factor in 31 percent of clothes dryer fires between 2018 and 2020, causing around 2,900 fires annually in the United States due to lint accumulation in the ventilation system. The positive aspect is that regular maintenance can play a significant role in preventing such catastrophic events.
How Often to Clean a Dryer Vent
To ensure optimal performance of your dryer, it is recommended to clean the dryer vent every three to six months, depending on your usage frequency. Additionally, it is important to clear out the lint filter after each use to enhance airflow and improve the efficiency of your dryer.
Before You Begin
Extended drying periods are typically the primary indicator of a blocked dryer vent. Additional indicators may include a burning odor or an abundance of lint in the lint trap. Prior to commencing the cleaning process, ensure to disconnect the dryer from the power source (or shut off the valve) and inspect for any potential blockages.
Necessities To Clean Dryer Vent
- Dryer vent pipe brush ($10; homedepot.com)
- Multi-purpose lubricant such as WD-40 ($4, homedepot.com)
- Dishwashing liquid
- Bucket
- Wire vent brush
- Cloths
To Minimize Lint?
- Scrub brush
- Hand or dish soap
How to Clean a Dryer Vent From Inside
Step 1: Unplug and Move the Dryer
- Turn off the gas valve if your dryer is gas-powered.
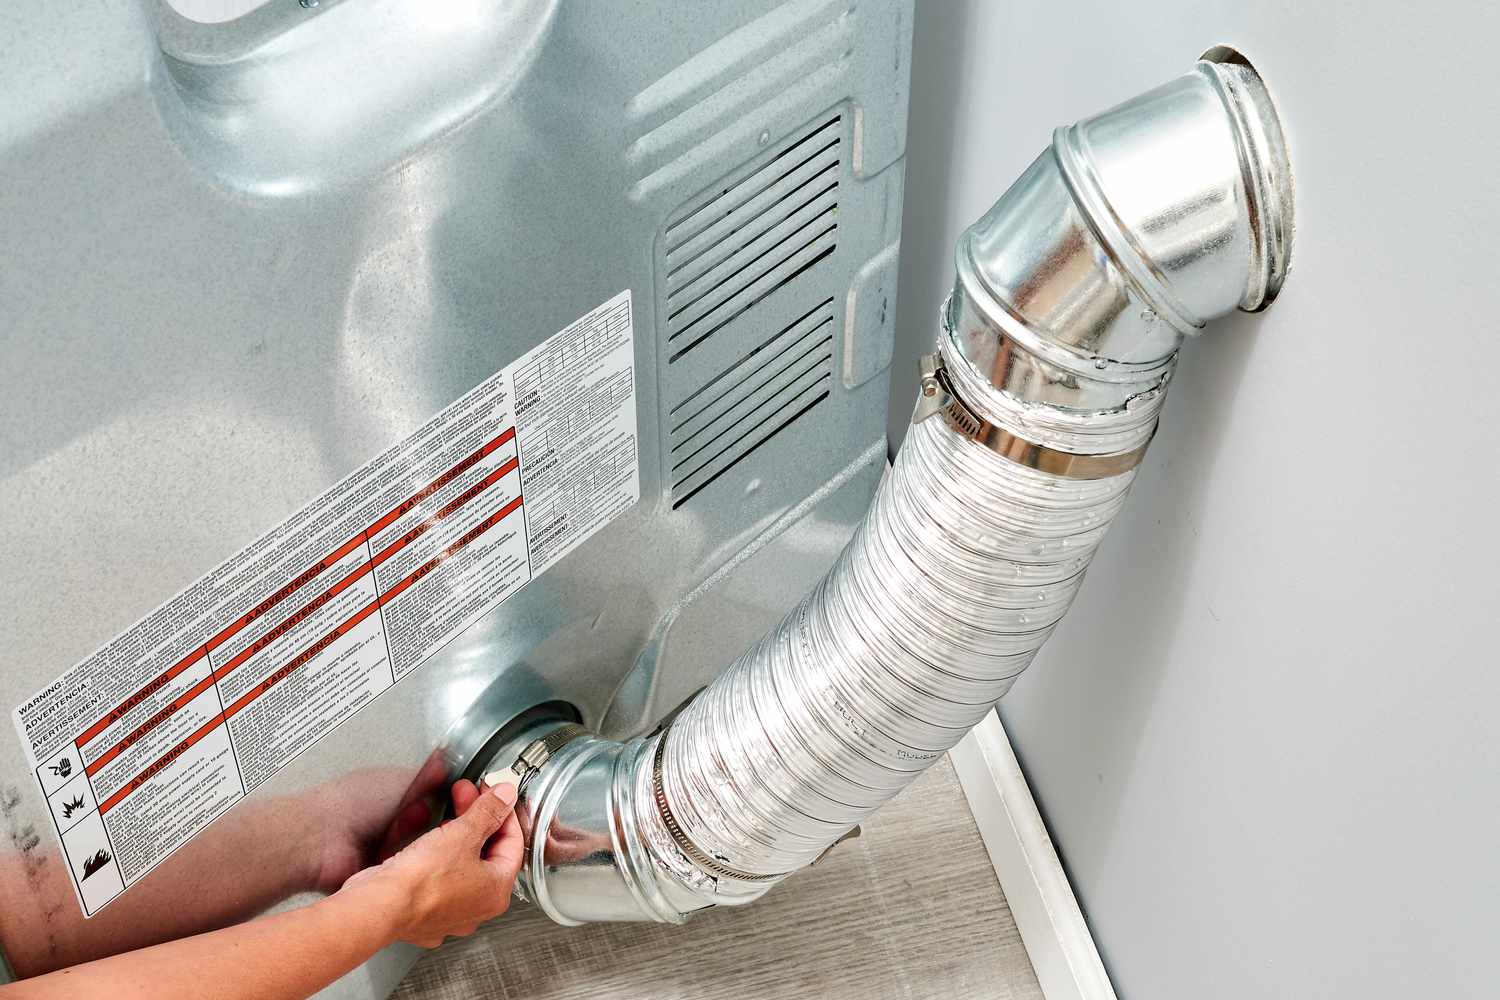
- Take caution as you relocate the dryer from the wall and detach the vent pipe from the rear of the appliance. It might be necessary to eliminate a duct clamp or duct tape.
Step 2: Vacuum Out Lint
Utilize a shop vac or the hose attachment of your vacuum to remove the accumulated lint from the vent tube opening located at the rear of the dryer.
Step 3: Clear Remaining Lint With Pipe Brush
- Remove any leftover lint clinging to the edges using a telescopic dryer vent pipe brush. You can find these items at the majority of home goods retailers.
- To unclog the detached vent pipe, wall piping, and dryer opening, simply move the brush in a circular motion back and forth. This action should resemble snaking a bathroom drain to remove any blockages.
Step 4: Reattach the Dryer Duct
- Once all the lint has been completely removed, proceed to reattach the dryer duct to the rear of the dryer.
- Return the dryer to its original position and connect it to the power source.
- Turn the gas valve back on.
Tips to Keep a Dryer Vent Clean Longer
- To eliminate static that may attract lint to your clothes, consider utilizing either a dryer sheet or wool dryer balls.
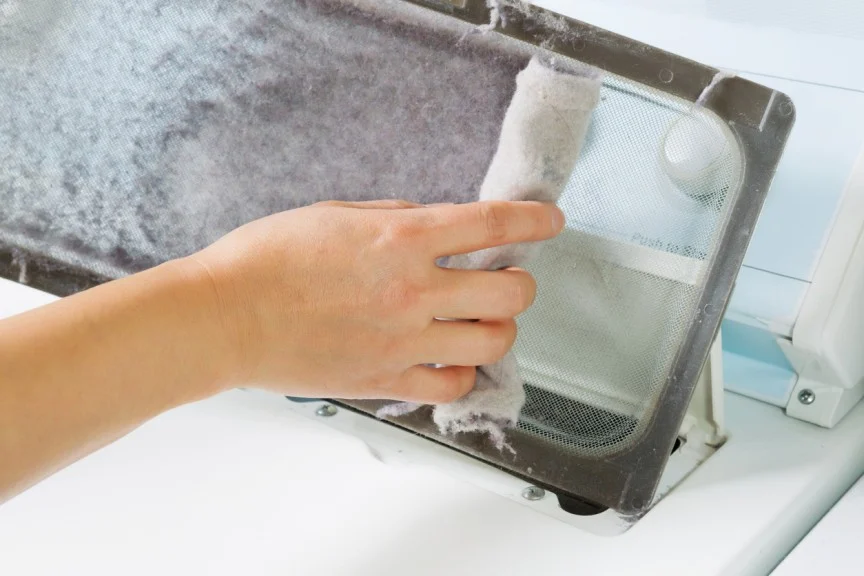
- It is crucial to clean the lint from the filter after each laundry cycle to ensure the safety and efficiency of your machine.
- Make it a habit to frequently eliminate the surplus lint accumulated in the lint filter housing by utilizing the hose attachment of your vacuum cleaner.
- Scrub the filter every few months, especially if you use laundry dryer sheets. (Residue from dryer sheets can clog the pores of the filter). Scour the filter with hot water, soap, and a hard bristle brush and then let dry before replacing the filter housing.
Let The Professionals At Arizona Valley Heating & Cooling Help You Clean Your Dryer Vent!
Arizona Valley Heating & Cooling LLC offers dryer vent cleaning, routine maintenance, repairs, and installation services. We also service most AC Unit Brands as well! Feel free to contact us at 602-832-5786.


